Requirements
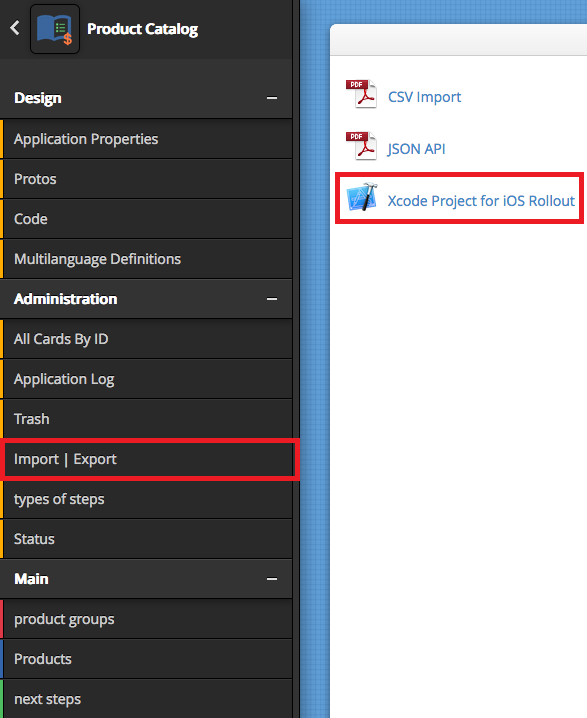
To generate an iOS App, you need a computer from Apple (MacBook, iMac or a similar device). On this machine, you must install the latest version of Xcode and you should have an Apple Developer Account to publish your app after its generation.The first step of your App generation is to download the Xcode project directly from your Protogrid App under the menu point "Export/Import". The following screenshot shows you the location of the Xcode project.

Generate the iOS-App
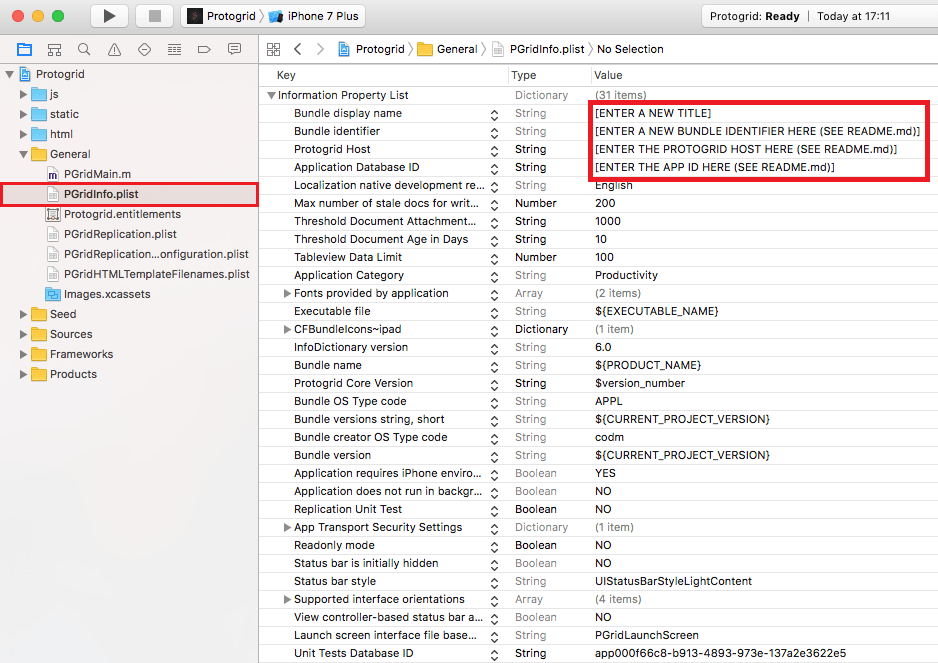
Now you should decompress the project and rename the folder to "Protogrid-Build". In the decompressed folder, you will find the "readme.md" file, it contains very detailed instructions of the steps presented in this blog. Please have a look at these instructions, if you struggle with your App generation.Open the file "Protogrid.xcodeproj" with Xcode. Then you navigate to the file "Protogrid/General/PGridInfo.plist", open it and edit the 4 entries marked on the next screenshot.

The subsequent list states all the entries you must change and where you can find the corresponding information.
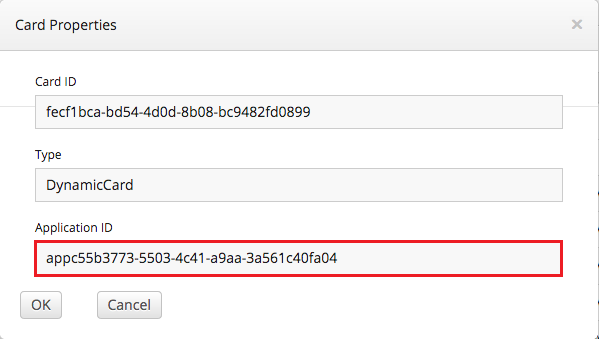
- First you have to adjust the "Application Database ID". You will find this ID in your Protogrid App by clicking on "This Card" and afterwards on "Show Properties" on an arbitrary card of your App. The following screenshot shows you the "Card Property" window.

You need to enter the marked entry "Application ID" in Xcode. - Then you should fill in the URL of your Protogrid Environment in the field "Protogrid Host". An example would be "ategra.protogrid.com".
- The next entry we edit is the "Bundle Identifier", which is used by Apple to identify your iOS App. The Identifier should have a structure like this: "com.your-organization.your-department.your-app-name". It is important, that all your Apps have an unique name.
- And finally you can give your app a display name by changing the entry "Bundle display name". You can choose whatever name you like.

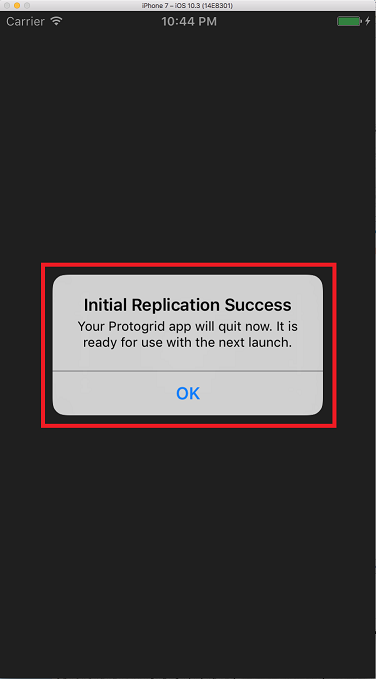
Your App should now run on the simulator and all your iOS devices. Publish your App as usual on the Appstore or company-internally by using the Apple Developer Enterprise Program.
The "readme.md" file contains additional information such as tips for your advanced iOS App preferences or a step-by-step instruction on how to update your iOS App.
Please contact our Protogrid Support Team, if you have any further questions or problems.


